
DeepDojo.AIPublished 2026-11-10Updated 2026-11-10中文
The Setup Checklist for Your First Claude Code Run
You install Claude Code, run claude --version, and a version number pops up. Then login fails. So you reinstall it a different way and try again. Still no luck, and now there are two copies of claude on your machine and you can't tell which one is running.
This happens all the time, and it usually comes from lumping separate problems together. The program runs. The account works. The terminal is in the right project. The project can be restored if something breaks. Those are four independent conditions, and when any one of them is missing, the symptom tends to look the same: "it doesn't work."
Before your first session, break the setup into five pieces and check each one:
- Account: you can sign in, and it includes Claude Code;
- Terminal: you can get into the right project folder and start
claude; - Editor: you can open the project and see what changed;
- Practice project: low stakes, with results you can see;
- Git status: you've saved a starting point you can return to.
One more rule on top: install with a single method, and make sure your system can find it. Each piece has its own check, so you only fix what's actually missing. When something goes wrong, the symptom tells you whether to look at the account, the folder, the install, or the project, and you never have to start from scratch.
01 Cover the Basics First
Check the account, the terminal, the project folder, and your way back separately. A program can run fine while the account has a problem or the project isn't ready. When you check them one at a time, a failure points straight to what needs fixing.
You should be comfortable doing these things:
Open a code project
Find the folder the project lives in
Open a terminal
Move into the project folder
Tell code files apart from ordinary documents
Know roughly what Git does (version control)
If the terminal, installing dependencies, or running a project still feels shaky, shore that up first. Once you can do all of the above, and you'd know whether a problem is with the account, the folder, the install, or the project, you're ready to move on.
02 What Each of the Five Pieces Does
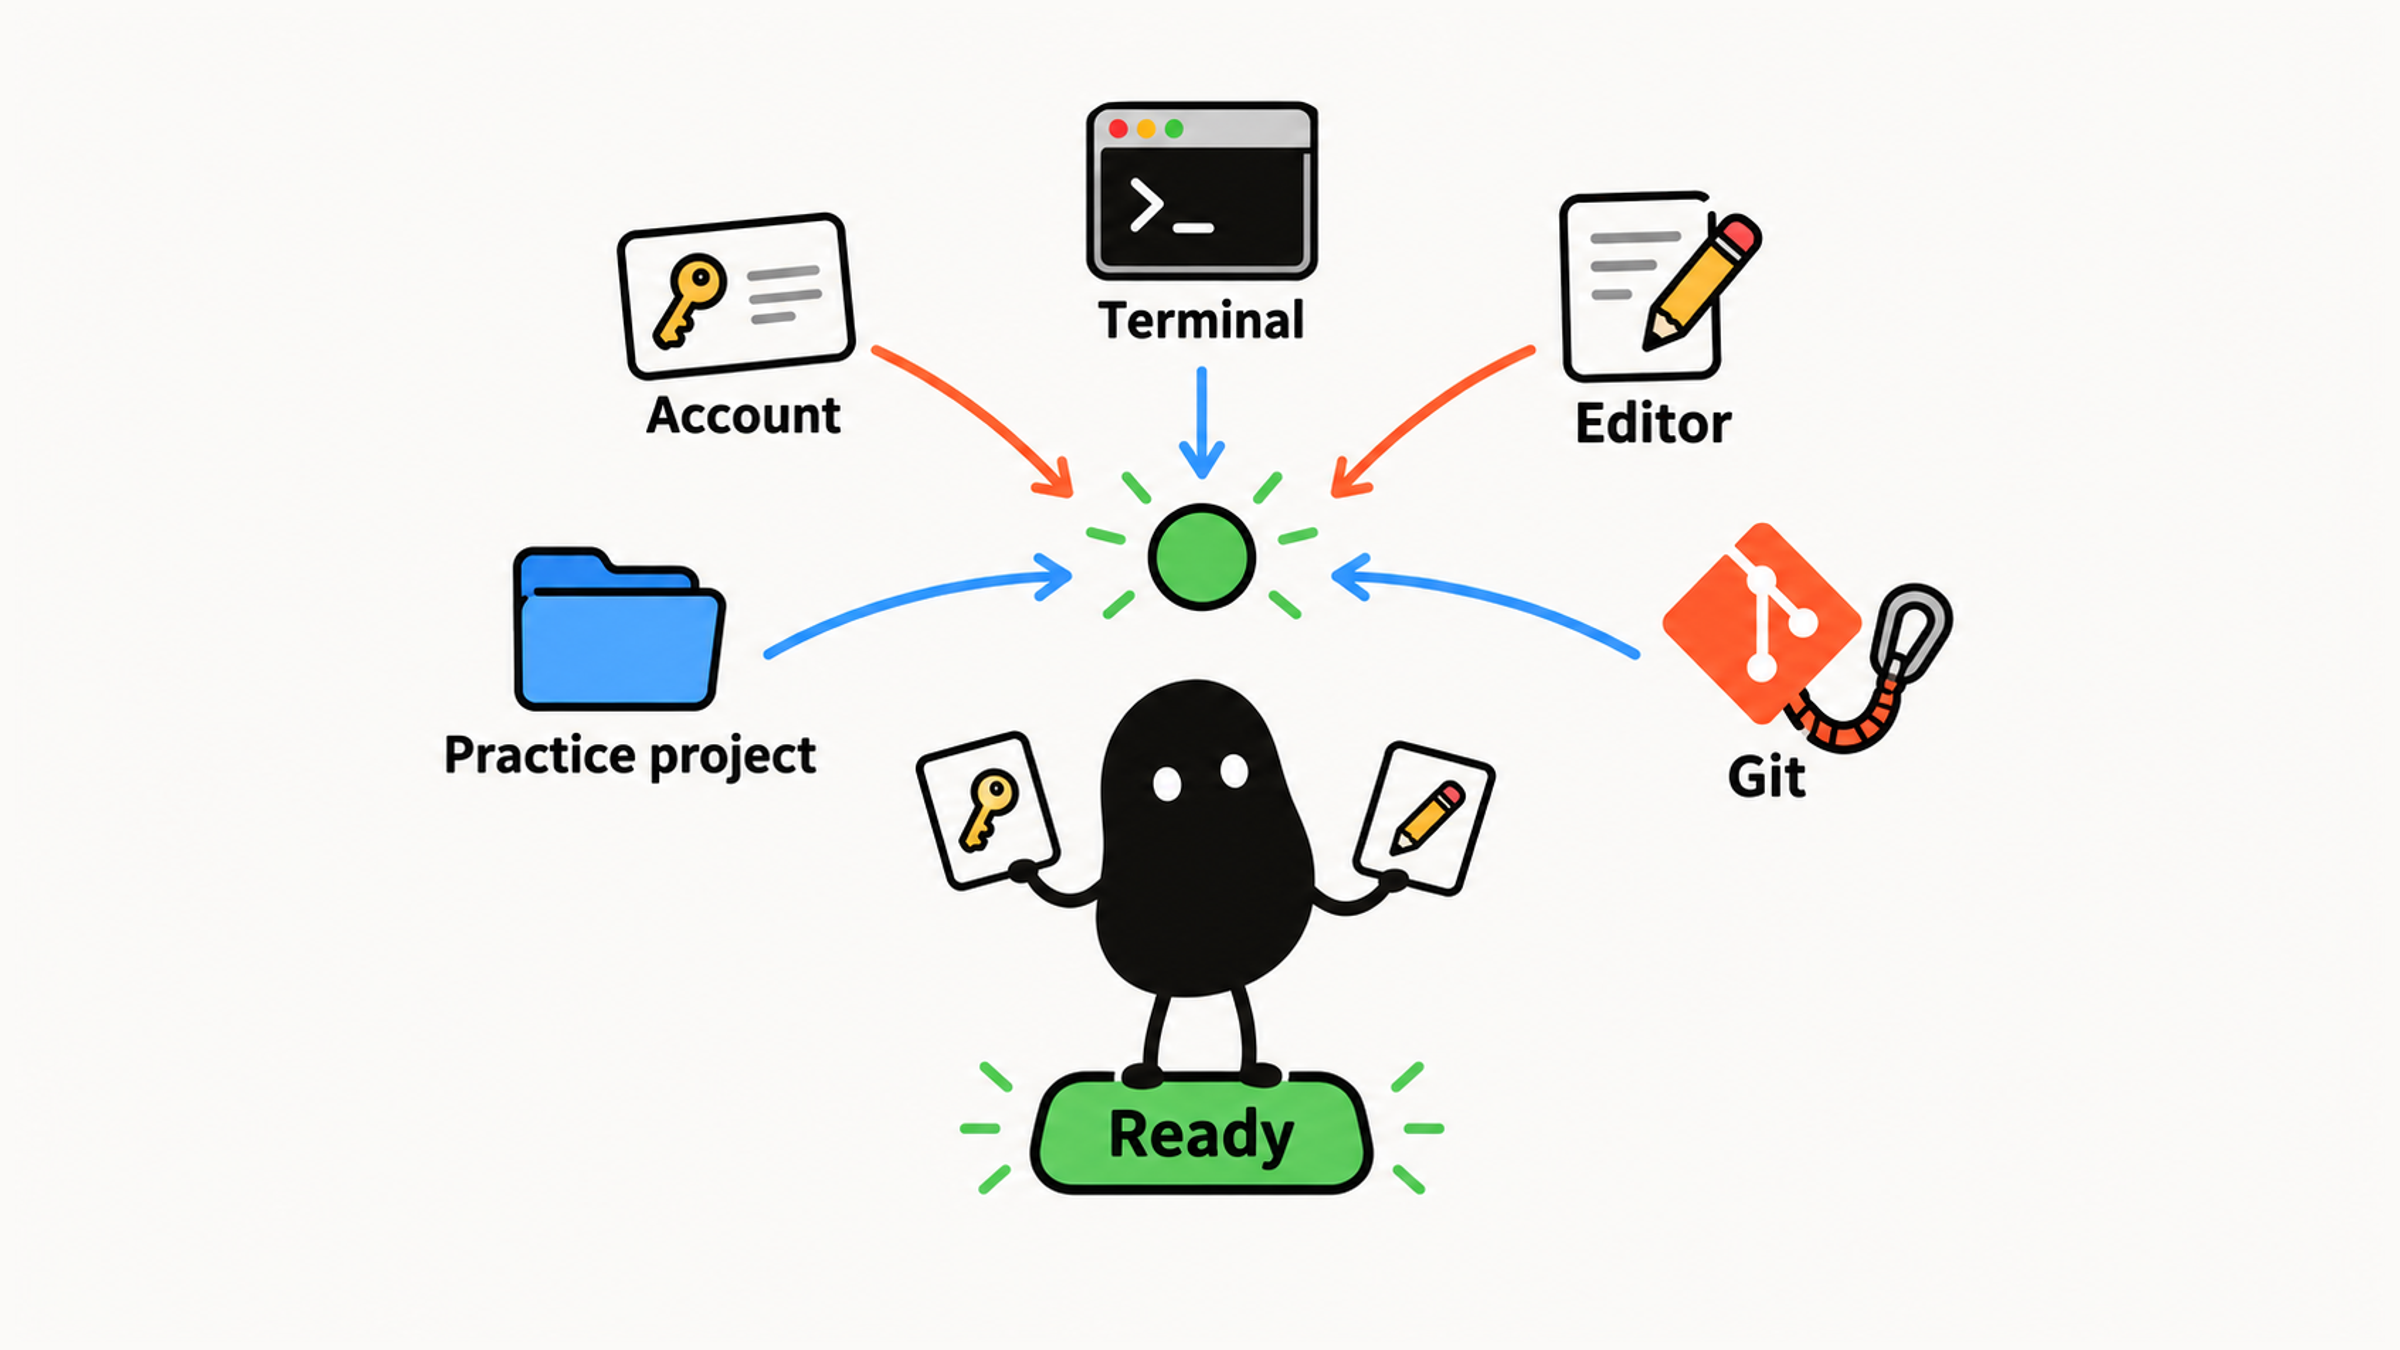
Each piece has a specific job:
| Piece | What it's for |
|---|---|
| Account | Lets Claude Code use the model |
| Terminal | Starts Claude Code and runs commands |
| Editor | Lets you see and review code changes |
| Code project | Gives Claude Code a real place to work |
| Git status | Lets you see, undo, and commit changes |
Here's how they go wrong together. You're signed in, but the terminal is pointed at a different project, so Claude Code investigates the wrong code. Or the folder is right, but you never noted the edits that were already there, so later you can't tell which changes came from this session.
You're ready when all of it holds at once: the program runs, the account works, the project can be checked, and its contents can be restored.
03 Choose How You'll Sign In
First, make sure your account can sign in and includes Claude Code. If startup fails later, you'll know whether it's an access problem or an install problem, and you won't waste time reinstalling.
Most people sign in one of three ways:
| Option | Who it's for |
|---|---|
| Claude subscription | Individual developers and beginners |
| Claude Console account | Developers who prefer API billing |
| Enterprise cloud provider | Companies and teams that already have cloud access set up |
The official Quickstart lists the same three: Claude subscriptions such as Pro and Max, Claude Console with prepaid API credits, and enterprise cloud platforms such as Amazon Bedrock. If the account or team access you already have is enough for practice, use it. You can look into enterprise cloud setup when you actually need it.
Confirm three things:
- You can sign in.
- Your account includes Claude Code.
- You know whether you're on a subscription, Console, or your team's enterprise setup.
If you're unsure about any of these, sort out the account before anything else. Otherwise, when startup fails, you won't be able to tell an account problem from a permissions or install problem.
04 The Terminal and the Editor Each Have One Job
You start Claude Code in the terminal and review its changes in your editor. Keep those two jobs straight, and learn the rest as you need it.
The terminal is the window where you type commands. To get going, you only need three moves: check where you are, move into the project folder, and type claude. Add viewing help, exiting a session, and copying error messages, and you've got enough.
After Claude Code edits files, switch to your editor and look at the result: which lines changed, which files it touched, and whether that matches what you asked for.
If you already use VS Code, keep using it to view files. Its Claude Code integration can also show plans, diffs, file references, and history, and you can explore those over time. For your first run, pick one starting point that fits how you work:
| Situation | Where to start |
|---|---|
| Happy to learn a little command line | The terminal CLI |
| Mostly code in VS Code | The VS Code extension, or the terminal alongside VS Code |
| Your company has a standard setup | Whatever your team uses |
| No idea which to pick | The terminal CLI |
Get through one complete workflow there before you try another interface.
05 Pick a Project You Don't Mind Breaking
A practice project should be easy to check, easy to restore, and kept away from important work. Save a reliable copy or commit first. That way you can recover from mistakes and see exactly what each step changed.
Use a practice project, a sample project, or a small tool you've backed up. Production projects, client work, core repositories, and anything involving payments or permissions make every mistake more expensive.
| Project | Good for a first run? |
|---|---|
| Your own practice project | Yes, ideal |
| A sample or demo project | Yes, ideal |
| A small tool you've backed up | Yes |
| A core company project | No |
| A live production project | No |
| Your only copy, with no Git | No |
A starter project only needs to meet four conditions:
It opens
You understand some of it
You're comfortable experimenting on it
You can restore it if something breaks
If you don't have one, use a simple web page, a Python script, a Node.js sample, a React or Vue demo, or an old tool you wrote. A small site built from HTML, CSS, and JavaScript is plenty.
Keep it simple. Fewer files and visible results make it easier to see what Claude Code did. On your first run, take your time watching and checking.
06 Save a Starting Point You Can Return To
Claude Code makes real changes to your files, so set up a way back before you start.
Git is the best way. Before you let Claude Code edit code for the first time, make sure:
The project is under Git
Any uncommitted changes are identified and saved
You know how to see what changed
You know how to undo changes you don't want
If you're new to Git, copy the whole practice project first, for example to my-demo-backup. If you use Git, find and save any work in progress so nothing gets lost, then commit a clean starting point. Git only keeps what you commit, so uncommitted and ignored files need a backup of their own.
Say git status --short shows these two lines before you begin:
 M src/Home.tsx
?? notes.txt
Here's what they mean:
| Status | What's already there |
|---|---|
M src/Home.tsx | The file has been modified but isn't in the staging area yet, so it's unstaged |
?? notes.txt | A new file that Git isn't tracking yet |
Both were there before you started. When you review later, you'll need to tell them apart from whatever Claude Code changes, so save them now and note your starting point. Also look past the status list: ignored local config and files need their own backup check.
As a beginner, three safety habits are enough:
Before: run `git status` and make sure existing work is saved
During: watch which files Claude Code changes
After: review the diff yourself, then decide whether to commit
Always look at the diff before you commit. A local commit, a push, a merge, and a deploy are four separate actions, and each one needs its own go-ahead. Stay within the scope you've already agreed to.
07 Install Once, One Way
Pick one install method that suits your system and your team, and follow the official setup guide for the exact commands. The native installer is the recommended option, and Homebrew and npm are also supported. If you go with npm, check your Node.js version first (the docs require 22 or later). The docs also warn that sudo npm install -g can cause permission and security problems.
If the install fails, read the error, the path, and the version before doing anything else. Jumping straight to a different method tends to leave several copies of claude lying around, and then you can't tell which version is running.
Once it's installed, run claude --version to confirm your system can find it. Then check sign-in and the project separately.
08 Ready to Start?
Before you start, go through these seven checks and mark each one as done, missing, or not sure yet:
| Check | Done when |
|---|---|
| Account | You can sign in to an account that includes Claude Code |
| Terminal | You can open a terminal or command prompt |
| Project folder | You can find your practice project's folder |
| Editor | You can open the project and see file changes |
| Git or backup | You can recover if something breaks |
| Install | One method only, and claude runs |
| Project risk | No production projects, core projects, or only copies |
When something's missing, let the symptom tell you what to do:
Version shows, sign-in fails    → check the account and connection; keep the install
Project opens, can't verify     → look in the README for how to run or test it
A key piece isn't ready yet     → fix it before you start
The situation from the top of this post, where the version shows but sign-in fails, is the first line: the install worked, so look at the account and the connection. If the account works but you're in the wrong folder, fix the folder. If the program starts but the project has no way back, save the project. Once the account, folder, single install, low-stakes project, and rollback plan are all in place, you're ready for your first session. And the next time something "doesn't work," you'll know exactly which piece to check.