
DeepDojo.AIPublished 2026-11-07Updated 2026-11-09中文
Why the Same Prompt Never Gives the Same Image
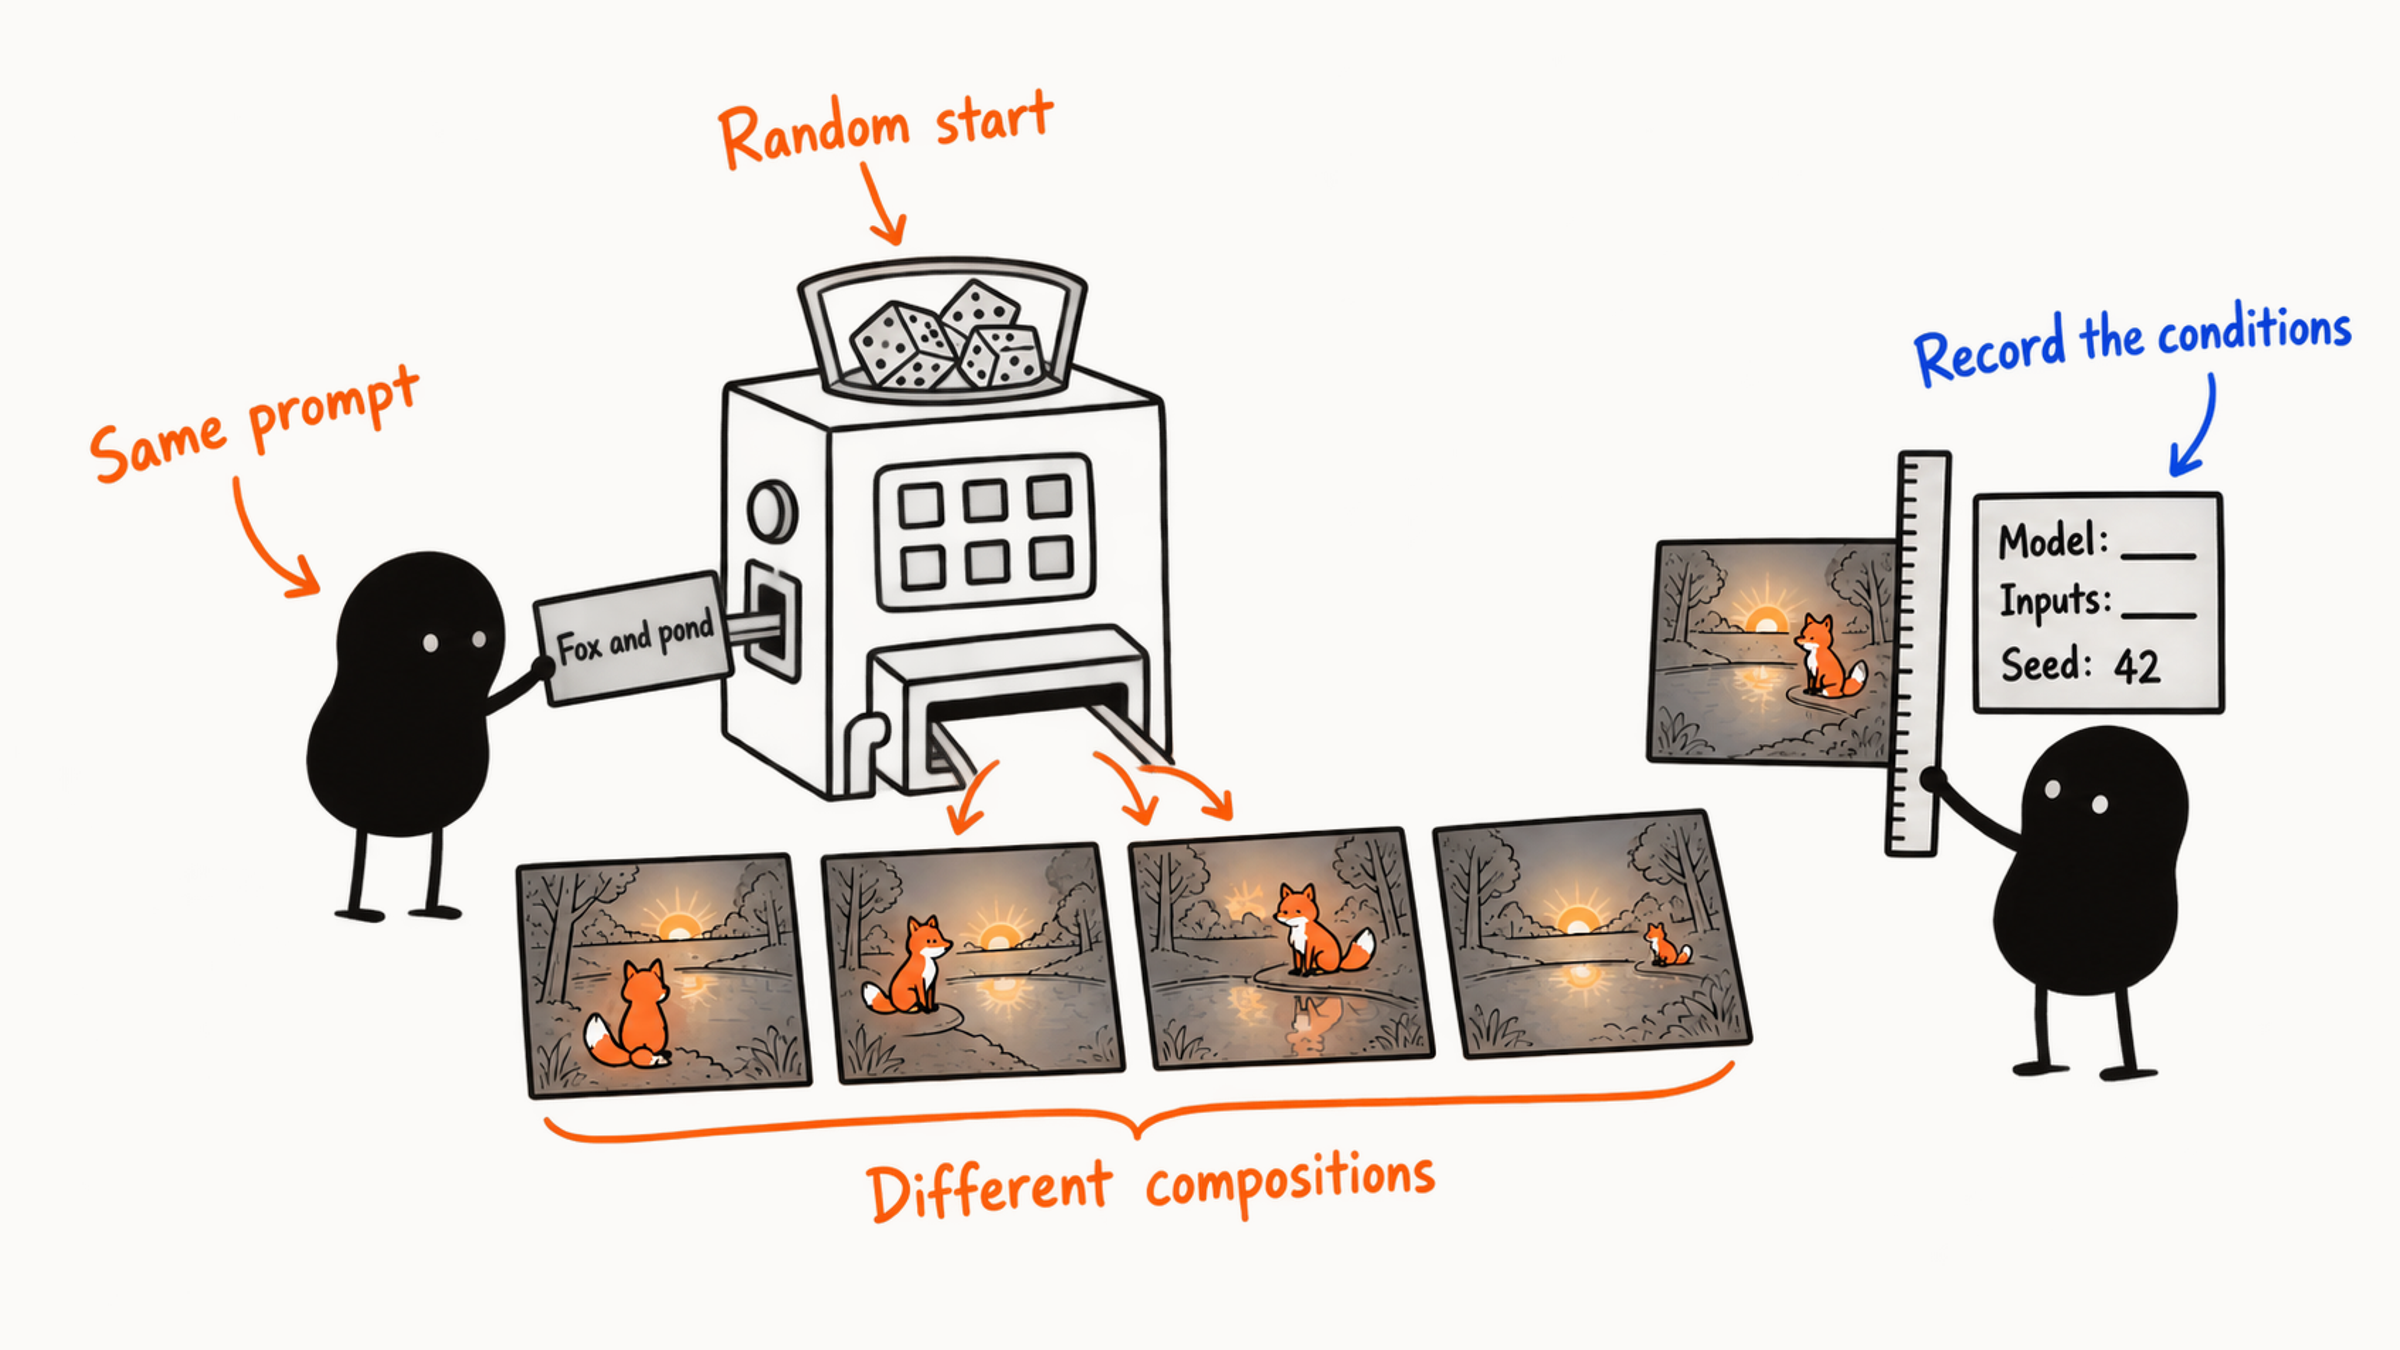
Run the same prompt four times and the composition, faces, and lighting all change. Paste it into another model and the gap may grow. Your first instinct is probably to add more description, but vague wording explains only part of the variation.
A single sentence leaves a lot of blanks, and the model fills them in differently each time. That's the root cause. Some variation comes from random generation, some from the model, and some from inputs that conflict with each other.
Work out the source first. Then decide whether to keep generating, fix the starting point, simplify the text, add a reference, or edit one area. If you add a string of words every time an image goes off, you may end up unable to say which words did anything.
To find where the variation comes from, look at three layers: the random starting point and sampling, the model's own ability and version, and inputs that conflict or leave something out. A seed can fix the starting point, but it can't control every kind of change.
Work backward from the symptom to the adjustment: fix the starting point when that's the cause, simplify the wording when that is, and add a reference when that is. A one-variable experiment then shows what changed and what to do next.
01 Why one prompt allows many images
Image search looks for matches among pictures that already exist. A generation model builds a new picture from the visual patterns it has learned and from your current conditions.
Take "an orange cat sitting at the door of a bookstore on a rainy night." You can probably picture it already. But what the cat looks like, which side the door is on, how high the camera sits, how many street lamps there are, even how the books are arranged: none of that is settled. The model has to fill those gaps with one specific picture, and the next run can fill them another way.
When you're hunting for ideas, that freedom is worth keeping. More compositions do bring directions you hadn't thought of. Once you choose a person, product, or layout, the next images should hold it steady. Narrow the range with text, then add conditions such as references, so the variation matches the stage you're in.
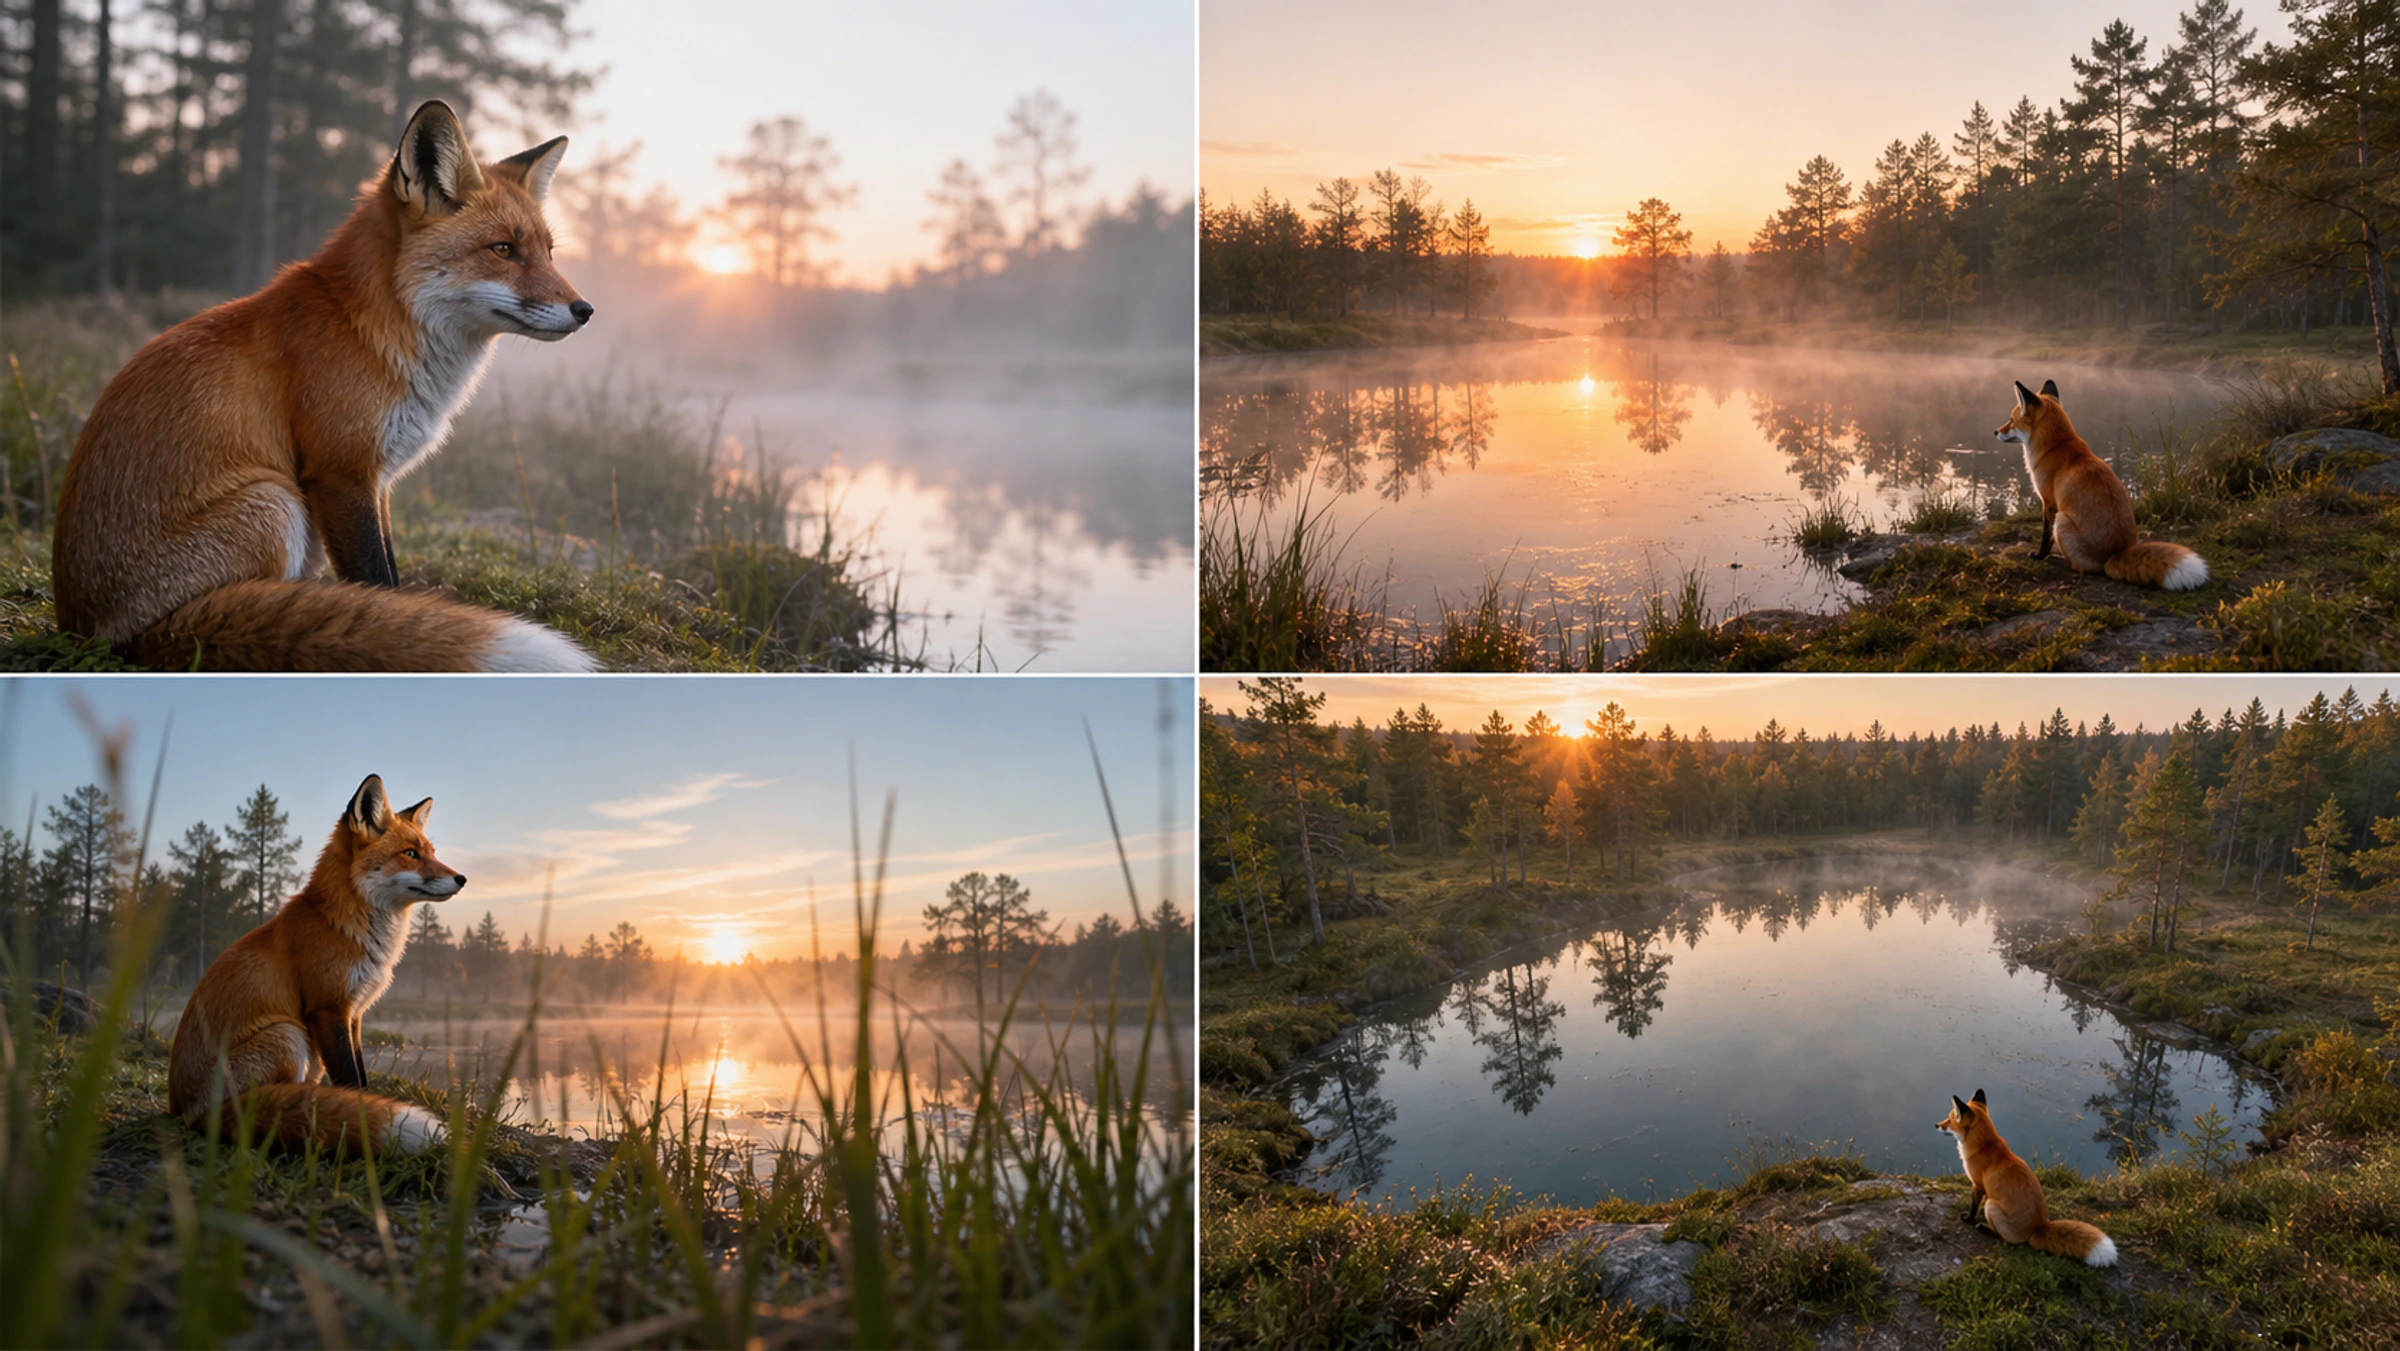
The image below uses one theme: "a red fox sitting by a forest pond at dawn." Subject and scene stay the same, while composition, viewpoint, pose details, and lighting change noticeably.
02 Random starting points, sampling, and model ability
Many image generation processes begin from a random state and build the picture step by step. A different starting point leads to different outlines, positions, and details. The process usually also includes sampling: the model picks one specific result out of many possible outputs. Running the same prompt several times is like drawing different samples from the same rough range.
Here is a simple diagram of one generation:
Model ability + current conditions + random starting point
                      ↓
           Multi-step computation and sampling
                      ↓
                One specific image
Model ability determines what the model can draw and what it's good at. Models differ in their training on photography, illustration, people, products, text, and languages, so they read the same request differently. Switch models, and both the visual tendencies and how well it follows instructions can change.
Current conditions decide where this run heads. The prompt gives text direction, reference images give appearance or structure, masks limit the edit area, and aspect ratio and settings shape how generation proceeds. The clearer the conditions, the more focused the results usually are.
The random starting point brings different compositions and details. A seed records that point.
Randomness has three direct uses. It shows you different compositions and moods quickly during exploration. It helps you find a direction worth refining among many candidates. And it adds variation in details while the theme stays put. Once you move to consistent production, randomness raises the cost of selecting. If ten images need the same person, product, and layout, you add fixed descriptions, reference images, structure conditions, and edit ranges step by step.
03 What a seed can and can't do
A seed records the random starting point. The open-source Diffusers library explains this in its reproducibility guide: by default a pipeline uses a different random seed each time to create its initial noise, so you have to set the seed to get the same starting point. When tool, model, version, settings, and inputs are all identical, a fixed seed makes similar results easier to get and small edits easier to compare.
Here is where it applies:
- Same conditions: use it for records and comparisons, to regenerate a similar image.
- Model, ratio, reference, or text changed: the same seed can still produce a very different image.
- An online tool changed its internal pipeline: even with identical visible settings, pixels can differ, so judge by what you actually see.
A seed covers only the random-start layer. To keep a person or product consistent over time, you also need to save reference images, fixed descriptions, model version, settings, and post-production files. Saving all of that together is far more reliable than recording one seed number. To get a similar image again, keep the model, version, reference images, settings, and random start together. If you copy only the prompt, other conditions and the tool's internal process may have changed, and the results change with them.
Models differ in style, editing, people, products, text, and safety limits. A product upgrade can also shift default composition, color, and instruction handling, so an old prompt and seed may fail to reproduce an old result. For steady production, record the tool name and generation date, the visible model or version, the full prompt and image inputs, key settings such as ratio, seed, and reference strength, and the chosen result and post-production steps.
When you change models, first test the same input on both. Keep the prompt, references, and aspect ratio fixed, and watch how subject, composition, style, and details change, and how many edits come after. If your project relies on text layout or product structure, keep a fixed test case. After a tool upgrade, regenerate from the same input and see whether those key requirements still hold, then continue with batch work. How seeds and other settings work together is covered in seven kinds of AI image settings and when to adjust them.
04 Conflicting conditions and missed requirements
Sometimes you reread your text and it seems perfectly clear, yet the model still draws something else. Look outside the text box. Reference images, masks, aspect ratio, style strength, change strength, and the model's own rules and safety limits all have an effect. If one of them conflicts with your text, the result changes.
Suppose the text asks for a "black-and-white minimalist product photo," but the reference is a high-saturation neon scene. The model may follow the reference's layout and color, or it may follow your black-and-white request, and the results flip back and forth. Or take a vertical frame with five people standing side by side. There isn't enough room, so some people crowd together, block each other, or drop out of the picture.
Check conditions across four layers:
| Condition layer | What it mainly controls | Common conflicts |
|---|---|---|
| Text | Subject, action, scene, composition, lighting, style | Too many requests, contradictions, unclear emphasis |
| Image | A person, product, pose, layout, or style reference | The image points one way and the text another |
| Region | Which areas may be edited | Mask too large or edges imprecise |
| Generation settings | Ratio, randomness, strength of change, reference strength | Settings override the text, or limits don't match the content |
How accurately a model carries out your text is called prompt adherence. Models differ in how they handle long instructions, languages, counts, spatial relations, and text. Common causes of missed items:
| Situation | Why it goes wrong |
|---|---|
| Too many requests | Specifying six people's actions, clothes, positions, props, and expressions at once makes the model drop information |
| Unclear emphasis | Writing only "premium, striking, cinematic" leaves subject, scene, and composition for the model to guess |
| Conflicting conditions | Harsh noon sun against soft, low-contrast mist, or a minimalist background against ornate decoration, pull the image in different directions |
| Complex relationships | Left and right, handing over, overlap, and exact counts require handling several objects and their spatial relations together |
| Content that must be exact | Logos, long Chinese text, mechanical and medical structures, and data charts need reliable material, specialist software, and human review |
When a prompt keeps growing, check the conditions first. Keep the most important ones, set subject and composition, then change clothes and background, and handle local areas and layout last. Working in rounds takes patience, but in each round you can see where it went wrong and know how to fix it.
05 Work backward from what you see to what to adjust
When a result drifts from your goal, piling on adjectives only adds variables. Use the symptom to find the right control.
| Symptom | Adjust first |
|---|---|
| Too random | Clarify subject, composition, and ratio, compare with a seed or reference, then use variations or local edits to narrow the change |
| Often misses requirements | Cut minor requirements, stress the object and action, check for conflicts, split complex relationships. If it keeps failing, consider another model |
| Composition drifts | Fix ratio, position, shot size, and camera, and add a sketch or composition reference |
| Local edits affect the whole image | Tighten the mask, the strength of change, and the keep list, change one area at a time, and save the original |
| Person or product inconsistent | Fix descriptions, references, model, and settings. Characters need a sheet and views, and real products need their source material protected |
| Structural details wrong | Zoom in to check hands, text, joins, counts, reflections, and parts. Repaint locally if fixable, and leave expert facts to experts |
06 Observe the changes with a controlled experiment
A simple experiment shows randomness and condition control at work. Start with a base description:
A white ceramic cup on a wooden table, natural light from a window, a quiet morning, horizontal photograph.
Generate four images and only observe the differences at first: the cup's position, the table's texture, the window's direction, the strength of light, and the objects in the background.
Then pick the image with the best composition and record the tool, model, ratio, and seed. In the second round, add just one condition: "The cup sits on the right side of the frame, with large clean blank space on the left." See whether the composition becomes more consistent. In the third round, keep everything else and add a composition reference image, or use the tool's composition control. Compare the subject's position and the steadiness of the blank space again.
After round two you had blank space, and you can keep that image. But to say the new instruction makes the space "more stable," you need more evidence. Random generation changes composition anyway, so this run may simply have landed well. If your tool supports seeds, compare pairs using the same set of seeds. If not, generate several images each and see whether the blank space keeps appearing. One success deserves to be kept, but to judge whether a method is reusable you need several sets of results.
Record each round in one row:
| Round | Held constant | Changed this round | Observed result | Next decision |
|---|---|---|---|---|
| 1 | Model, ratio, base description | Four random generations | Compositions varied widely | Specify the subject position |
| 2 | Model, ratio, subject, and light | Added subject on the right, space on the left | Three images showed clear blank space | Choose the best composition |
| 3 | The chosen direction and text | Added a composition reference | Subject position was steadier | Move to local refinement |
Split the conditions into two groups when you compare. Exploration variables are what you deliberately change this round, such as time of day, subject position, or a reference image. Control variables are what you hold steady, such as model, ratio, and base description. Change only one main variable at a time, and it's easier to tell where an effect comes from. Once you've chosen a direction, the four stages of iteration and the one-variable method show how to revise it round by round.
When you record results, keep one representative failed image next to the chosen one. Looking only at successes hides where this set of conditions is unstable, while the failure helps you spot the same problem earlier next time.
Set a budget for exploration, and an endpoint. When you reach the agreed number of tries or amount of time, choose a direction or go back to the brief and change conditions. One more draw might be better, but if you keep drawing, you use up time you could have spent editing.
In practice, use randomness to find a direction first, then add conditions and narrow the edit range.