
DeepDojo.AIPublished 2026-11-07Updated 2026-11-09中文
AI Image Settings: What to Change and When
After you see a result and open the settings panel, you may want to raise the quality or strengthen the reference and see if it gets better. Those settings do change results, and they also cost time and quota.
But each setting solves a different problem.
The prompt states the content, reference images give appearance and layout, and settings tune how the image is generated. Tuning settings carefully is worthwhile, but each time, say first what problem you're solving.
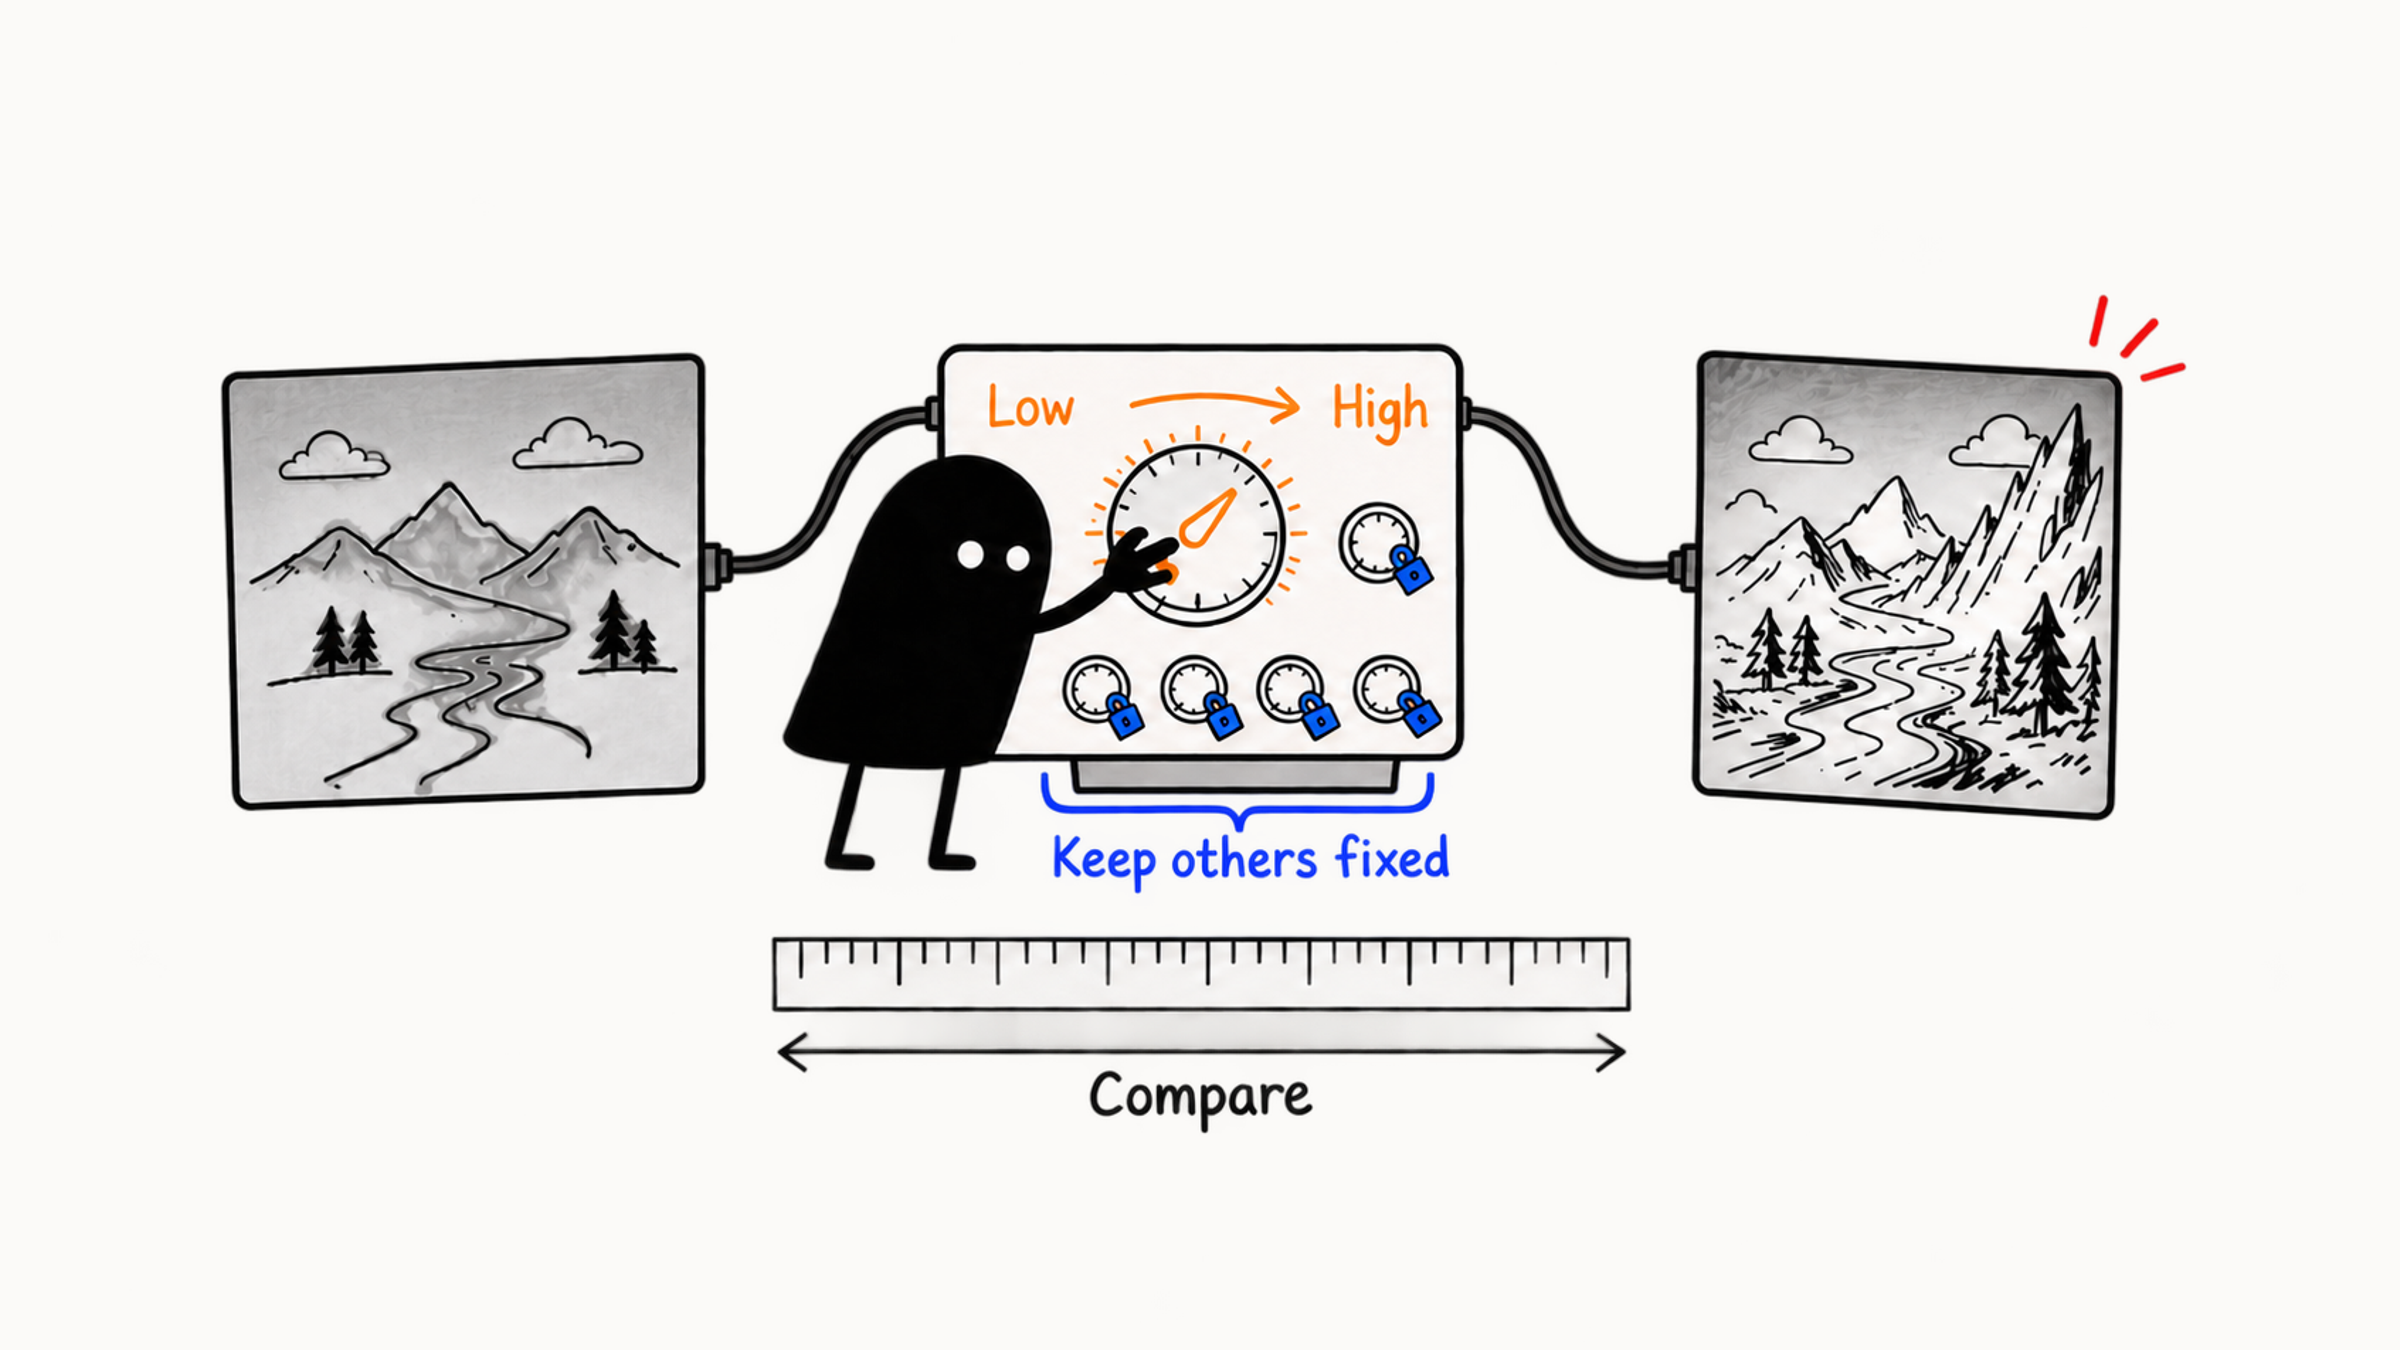
Tools and numbers change, so when you compare, hold everything else constant and watch only what that one setting changes. That way the lessons you draw are grounded.
Before changing a setting, ask one question: is this a content problem or a settings problem? When the content is wrong, no amount of tuning will fix it.
When it really is a settings problem, seven common kinds of settings each cover a different part: frame and size should be set early, and seed and randomness, style strength, reference weight, prompt adherence, and quality settings each do their own job, and they also pull against each other.
Choose settings from the symptom, run a one-variable experiment, and record the settings each round, so experience builds up.
01 First separate content problems from settings problems
You want an orange cat and the model draws a black one: first make the subject's color clear. The orange cat is right but its shape changes wildly each round: now there's reason to check the reference effect and the strength of change. You wanted a horizontal cover and got a square image: check the aspect ratio setting first.
These three problems are fixed in different ways. If content, action, scene, or layout isn't stated clearly, check the prompt and references first. Once the direction is right, handle too much change, what should stay but didn't, a wrong aspect ratio, or excessive cost. If the subject relationship is missing from the input, turning quality and steps up won't bring it back. So before you adjust settings, write down the current problem and goal. For example:
The composition works now, but image-to-image changed the product bottle. The goal is to keep the bottle and let only the background change moderately.
That sentence already points to reference strength, strength of change, and the protected area.
02 Seven common kinds of settings
Interfaces change, but common settings fall into seven groups by what they do.
| Setting group | What it mainly answers | Common examples |
|---|---|---|
| Image format | What shape and size the image has | Aspect ratio, output size |
| Randomness | How much candidates vary | Seed, creativity, chaos |
| Prompt adherence | How strongly the text conditions apply | Guidance, CFG, or similar controls |
| Style control | How strongly the platform's default style applies | Style strength, stylization |
| Image control | How much of the reference is kept | Image weight, structure strength, image-to-image strength of change |
| Compute and quality | How much computation goes into generation | Steps, quality tier, sampling settings |
| Output and cost | How many images per round and how long it takes | Number of images, speed mode, upscaling |
For a setting you don't know, look up what it controls and which way to turn it. A "best value" found online can serve as a lead to test, but before you adopt it, check the current official notes and your own comparisons. A setting's lessons should travel together with the tool, version, and task.
03 Decide aspect ratio and output size early
Aspect ratio sets the canvas shape, and it also changes how the model arranges the subject. 1:1 suits a single subject and square main images. 3:4, 4:5, and 9:16 are common for vertical content. 16:9 suits video covers, web banners, and environment shots. Confirm the exact platform size at the start of the project.
Set this early. Changing the same prompt from square to horizontal can rearrange subject, background range, and number of people, and cropping hard afterward can lose content. Look for direction at a ratio close to the final one, and you cut down composition rework later. For a multi-size project, fix the subject, main color, and style, and then arrange subject and title space separately for horizontal, vertical, and square.
Output size is pixel size, while aspect ratio is shape. Two images can both be 16:9, one a small preview and one high-resolution delivery. Explore at a moderate size, and enlarge or generate at high quality once the direction is confirmed, to save cost.
04 Seed, randomness, and number of images
A seed provides the random starting point (background in why the same prompt gives different AI images). When model, version, prompt, references, aspect ratio, and other settings are identical, a fixed seed helps you compare a single variable. For example, when you test three levels of style strength, keeping the same seed cuts the noise from random changes in composition. You can see more easily how style strength changes color, texture, and the platform's default look. After you switch models, versions, or platforms, test the results again.
With higher randomness, candidates usually differ more, which suits finding compositions and creative directions. With lower randomness, results are more concentrated, which suits comparing near a direction you've chosen. The number of images decides how many samples you see per round. Too few make stability hard to judge, and too many add selection cost. When you explore, look at more directions. After converging, reduce candidates. For local fixes, keep only the necessary samples.
Generating more images can indeed land a good composition, and in the exploration stage you can leave room for that chance. But if eight in a row lack a title area, stop and check the composition conditions. If the product keeps warping, check references and the editing method. When the same problem keeps recurring, spend the next round on a targeted fix. Set the generation budget in advance, and when it runs out with no usable candidate, go back to the Brief, tool, and input material.
05 Style strength, reference weight, and strength of change
Some tools add a look the platform prefers and let you tune how strong it is. As strength rises, light, color, texture, and composition may become more pronounced, and the subject and details may change along with them. Concept exploration, art illustration, and mood posters can allow style more room. Product structure, fixed characters, infographic backgrounds, and post-production layout value instructions and accuracy more, so style control should be gentler.
A stronger style that looks more striking is tempting. But if the person changes, the blank space disappears, or glass gets drawn as a different material, this round has a loss. Protect the task's requirements first, then choose a style strength you can accept. Style problems may also come from the prompt and references. When the text writes several styles at once, lowering a setting only eases part of the mess. Unify the visual direction first, then fine-tune strength with settings.
Image reference weight is how strongly a reference image affects the result. In image-to-image or inpainting, the strength of change is how far the model may stray from the input. Different tools may use opposite words or numbers, so confirm the explanation before you operate. Think of the two as a balance between keeping and changing:
- Stronger reference effect, lower strength of change: easier to keep subject and composition, suited to convergence and refinement.
- Moderate reference effect, moderate strength of change: keeps the main direction while allowing scene and details to vary.
- Weaker reference effect, higher strength of change: better for exploring new directions from an original.
When a person, product, or composition is a key reference, raise the degree of keeping step by step. When you only borrow color or mood, let the text and model have more room. If the reference effect is too strong, the old background, pose, and flaws may carry over too. If the strength of change is too low, a new scene or outfit may not take. If the reference is too weak, the person, product, and composition change easily. Compare the low, medium, and high levels and see which keeps the key content and still finishes this round's edit.
06 Prompt adherence, quality settings, and upscaling
Some tools offer "prompt adherence" or "guidance strength" to adjust how much the text affects the result. The guidance_scale setting in the Diffusers documentation is this kind of setting. A lower value gives the model more room to depart from the prompt, a higher value makes the image follow the prompt more closely, and too high a value may bring artifacts. Turn it down and subject, color, and composition requirements may weaken. Turn it up too far and the image may look stiff, with harsh contrast or odd details. The effect depends on the model and sampling method. If the text already has opposite requests, sort those out first. Some tools have fixed settings you can't change in the interface. In that case, simplify the text, split the task, or add control with references and local edits.
Quality tier, steps, and sampling method affect time, cost, detail, and stability. Steps can be understood as how many computation steps the generation process takes. Raising these settings usually takes more computation, but the improvement may get smaller and smaller, and the model's ability limits it too. When you explore direction, use faster settings and a moderate size. After you settle on a composition, raise quality to judge material and detail, then upscale and edit locally as needed.
Upscaling raises size and some detail. Fix wrong composition, a person's identity, and product structure before upscaling. If upscaling brings fake texture, sharpened edges, or a changed face, lower the strength or use a tool better suited to faithful upscaling. Delivery size also depends on where it will be used. Web needs a balance between sharpness and file size, print is prepared according to physical size and print requirements, and social platforms compress again. Keep the original high-resolution file and export each platform's version separately.
07 Settings affect each other
When you change one setting, also see whether anything else changed with it:
- Raise randomness, and a fixed seed still records only the starting point.
- Strengthen style, and the person may drift further from the reference.
- Increase the strength of change, and the product and composition change more easily.
- Change the aspect ratio, and the subject's position may be rearranged too.
Pursuing high randomness together with strict consistency, or strong style together with real-product accuracy, tends to pull against each other. Multi-person compositions in extreme aspect ratios, and large numbers of high-resolution candidates on a low budget, also need trade-offs. Decide the main goal of the current stage first: exploration keeps variety, convergence protects structure, and finalizing stresses quality and size. Then decide the direction of your settings.
08 Choose settings by symptom
Before you adjust settings, rule out prompt, reference, and material problems first, then pick an entry point by the symptom.
| Symptom in the image | Settings to check first | Also check |
|---|---|---|
| Candidates differ too much | Randomness, seed | Whether the core prompt is fixed |
| Candidates too alike, lacking direction | Randomness, number of images | Whether the reference is too strong |
| Person or product strays from the reference | Reference strength, strength of change | Reference quality and mask |
| Old background brought in heavily | Reference strength, image-to-image change | Whether the reference needs cropping |
| Platform style overrides the subject | Style strength | Whether the prompt stacks styles |
| Text requirements often missed | Prompt adherence strength | Whether instructions are too long or conflicting |
| Local edit affects the whole image | Inpainting strength, mask range | Whether the right editing method is in use |
| Not enough detail | Quality, steps, output size | Model ability and the original's structure |
| Generation cost too high | Number, quality, size, speed | Whether you retouch only the selected image |
The table tells you where to start checking, and you still judge by the input. A person who doesn't look like the reference may come from too weak a reference effect, or from the original being too far from the target angle. To keep a product and drop the old background, strengthening the whole reference may keep both. Crop out the product first, then test strengths, and you stay closer to this round's goal. When the interface has no matching setting, you can change how you control it by cropping, reducing other references, or editing locally.
09 Design a one-variable settings experiment
A settings experiment should state fixed items, the variable, the levels, and what to observe. Suppose the problem is "the style reference makes the product's material look like an illustration." The experiment could be designed like this:
Fixed: model, prompt, product reference, composition, seed, aspect ratio
Variable: style reference strength
Levels: low, medium, high
Observe: product outline, glass material, color, background style, text adherence
Generate the same number of candidates at each level and compare them side by side. Suppose the low level kept the bottle but the background style wasn't strong enough, and the high level had a vivid background but the bottle edge and glass looked like an illustration. The medium level reached the background you want and kept the bottle real, so the project has a reason to choose medium. Record the observed differences and the reason for your choice on the control card together. Next time, test one more setting, such as strength of change, with the confirmed medium style strength added to the fixed items. Experimenting step by step builds the link between settings and results. The idea of comparing one variable at a time is covered more fully in the four stages of iteration and the one-variable method.
10 Thermos case: what to adjust in each of three stages
Say you want to place a real thermos in an early-morning camping scene. The product shape is fixed, the background can change, and the final output is a horizontal ad.
Start with 16:9, pair a medium product reference with a fairly high scene change and moderate quality, and generate six images. At this point you look at the tent, table space, and morning light, mainly to find a scene direction. Note small product deviations for now, and images with serious structure errors leave the candidate pool.
After you choose a composition, strengthen product retention and lower randomness. Crop a clear product reference and compare three candidates to see whether position and light fit. If the old background comes along, keep cropping the reference or switch to layered compositing.
By the time you reach the contact shadow under the cup, the overall composition is set. Circle only that local area, lower the strength of change to just enough to fill in the shadow, and then raise quality and output size. Finally, replace the key areas with the real product image, and check color, lid, ports, and label against it to confirm the product is accurate. The three stages follow this direction, and you test the exact numbers by tool:
Explore: look at more candidate directions
  ↓
Converge: strengthen keeping, reduce change
  ↓
Finalize: focus on local edits, raise output quality
11 Record each round's settings and gather reusable lessons
Save the settings that worked as exploration, convergence, and finalizing presets, labeled with tool, model version, and purpose. Records of key versions are kept in three groups:
| Group | What to save |
|---|---|
| Tool and input | Tool, model version, full prompt, reference image numbers, date generated |
| Control settings | Aspect ratio, seed, reference strength, strength of change, style settings |
| Output settings | Quality setting, output pixel size |
Add two sentences of judgment: what you changed this round, and what happened. For example: "Reference strength raised from medium to high; the person's face shape was steadier, but the old reference brought the background in too. Next round, crop the person reference."
First state the result of one experiment for this task. To reuse it later, note which model and material you used, what you observed, and which changed conditions call for a retest. Record four things: task conditions, the variable and levels you adjusted, observed benefits and side effects, and the applicable stage and retest conditions. For example: "In horizontal glass-bottle scene exploration with the current model, the medium reference kept the outline and let the background change, while the high level brought in the old tabletop. Retest if the model or the reference cropping changes." That tells you what conditions the conclusion applies to.
For now, treat this conclusion as this one experience. Once several similar tasks confirm it, move it into your usual settings. Keep failed levels too: knowing where a setting starts to damage the subject helps you judge the next image better than a single "recommended value." If the model, reference, or cropping changes, rerun the same test input and compare composition, how well requirements are met, material, identity, speed, and cost before deciding whether to keep using the old settings.